2D Slice
Create a 2D slice of a 3D mesh model. For more advanced options with BIMs, see Create Floor Plan and Report.
- Open a project and display a mesh model in the viewport.
- Click 2D Slice
 .
. - You see a selection plane.
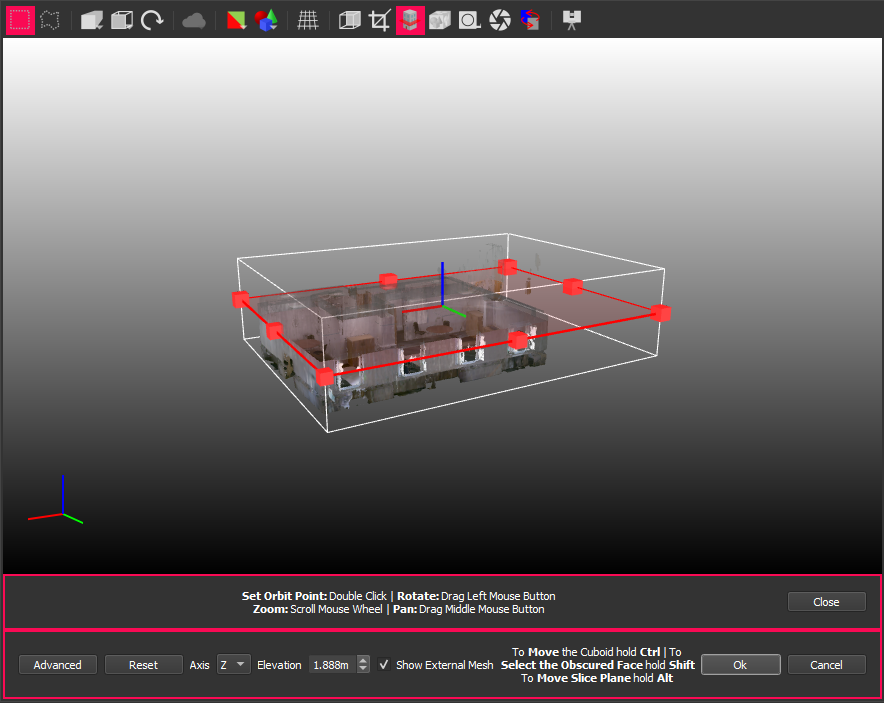
- You may find it easier to uncheck Show External Mesh, so you see only what is below the selection plane.
- Adjust the position of the box and the height and axis of the plane:
Click and drag a face to adjust the size of the box.
Click and drag one of the edges to rotate. For a vertical section, make sure you rotate 90 degrees of the X axis (green on the gizmo).
Hold SHIFT to select a hidden face.
Hold ALT to adjust the position of the plane.
Hold CTRL to move the box without changing its size.
Click Advanced to modify the slicing plane. See Selection Tools, Controls, and Output.
- Click OK to open the 2D Slice dialog:
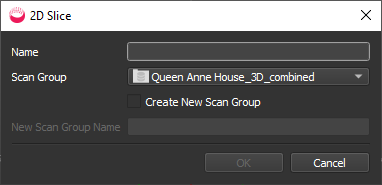
- Specify a Name for the 2D slice.
- Either select an existing Scan Group from the dropdown list, or check Create New Scan and specify New Scan Group Name.
- Click OK.
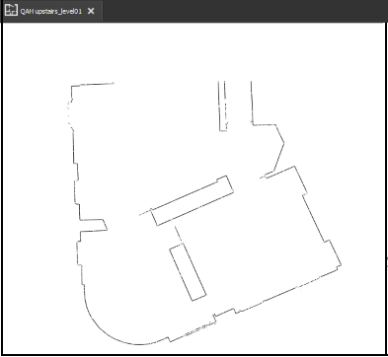
- The 2D slices are added to the Plans folder under the same scan folder as the source, but not automatically displayed in the viewport.
- Display the result in the viewport. For example:
- You will need to export the model using the usual export options to use the file in 3rd party software.